Photography

Tips For Becoming A Successful Photographer

Photography has never been more popular—with greater than ever access to great cameras in both smartphones and mirrorless cameras, among others, so many people have picked up the hobby. But when it comes to turning pro as a photographer, it takes much more than just being able to click the shutter at the right moment. So here are a few tips to help you become a successful photographer:

#1 You Need To Have A Passion For Photography

This may seem like an obvious one, but it is essential. You need to have a genuine passion for photography if you want to be successful. It takes more than just taking pretty pictures. You must be passionate about learning new techniques, experimenting with different styles, and constantly improving your craft. The best photographers I know cannot help but shoot—it is their obsession, whether at work or in their free time.

#2 You Need To Be Willing To Invest In Your Craft

Investment can mean a lot of things when it comes to photography. It can mean investing in better equipment, taking courses to improve your skills, or even just investing your time into learning more about photography. Whatever form investment takes, you need to be willing to do it if you want to stand out amongst a sea of skilled hobbyists all with access to the same tools and information. Invest in the best you can reasonably afford to begin with, and then gradually build from there are you discover what you’re passionate about AND what people hire you for.

#3 You Need To Be Willing To Network

Networking is a huge part of any career, and photography is no different. Get out there and meet other photographers, attend workshops and conferences, and just generally get your name out there. The more people you know in the industry, the better your chances of finding success. But don’t be a phony social butterfly, always looking at how people can serve you. The best way to network is to be genuinely interested and to be generous with your time, knowledge, and effort. Show people you are reliable, hardworking, interesting, and always open to improvement, without expecting anything in return, and they will eventually open doors for you.

#4 You Need To Be Mobile

As a photographer, you need to be willing to travel. Events, photo shoots, and even just vacations will often require you to be away from home. The truth is the best photos often require some effort to reach and you need to be willing to make the journey.

A reliable, practical car is a huge help to carry all your gear and get around. But this is a huge investment that you need to be smart about—if you need to buy a car, check out websites edmunds that can help you pick the right car for you and get the best deal for it.

#5 You Need To Be Creative

Many of us focus on being technically sound, spending hours upon hours watching tutorials on both shooting and post-processing. But there is no shortage of skilled photographers out there, so you need to find a way to stand: Be creative with your shots, editing, and overall photography approach. Consistently practice your eye, try to see what the way you see and photograph things distinct, and lean on that. Pour the passion into it, as we said in #1, and often, creativity will follow.

#6 You Need To Be Professional

This matters just as much as being able to snap great pictures consistently (shameless plug hehe). You need to be professional if you want to be a successful photographer. That means being punctual, polite, and respectful to your clients. It also means having a strong portfolio that you can show off to potential clients. You should be a pleasure to work with while also being able to hold your own amidst client demands and feedback.

Furthermore, teach yourself or ask help when it comes to administrative, accounting, and general business matters. You need to keep the lights on to keep the passion alive.


These are just a few tips to help you become a successful photographer. But remember, becoming a successful photographer takes time, dedication, and hard work. So don't get discouraged if you don't see results right away. Just keep working at it, and eventually, you'll get there.


Should New Photographers Use A Proper Camera Or Just Use Your Phone?

Photography is an excellent hobby to get into, but it can be an expensive one. If you are serious about taking high-quality photos, you might be looking at the different cameras you can buy. Even the mid-range ones can be quite pricey and you may be thinking, is it really worth it?

Phone technology has come on a long way and you can take some pretty impressive photos, so should you invest in a camera or not? Really, it depends on what you want to take photos of and what you want to do with them. This guide will give you a bit of help so you can decide whether a phone or camera is better for you.

Benefits Of Using Your Phone Camera

Image Source - Pixabay CCO License


Phone cameras are small and easy to carry around and they can be less conspicuous than a full-sized DSLR for snapping photos at events like concerts. You also won't attract as many stares as you would holding up a big camera, which is great if you want inconspicuous shots. This means that whenever your phone is on you, you will always have a decent camera with you and it's there when those special moments happen. 


Phone cameras automate most of the things you would normally do on a camera. If you're new to photography and don't really know what you're doing, that's a big bonus.


The camera tech on phones has advanced a lot in the last few years, so you'd be surprised how good the quality is. If you want to get the most out of it, you should play around with the settings. Using the raw photos iphone setting, for example, can get you the same quality you'd get from a DSLR camera. The other great thing about using your phone is that you don't have to buy a separate camera, so you'll save money. 

Benefits Of Buying A Camera

Image Source - Pixabay CCO License

Obviously, DSLR and mirrorless cameras have more capabilities than a phone. You can change lenses and you can manually adjust some settings to get the best possible quality of the photo. Their much larger sensors allow far better image quality and beautiful out of focus backgrounds with the right lenses. If you're passionate about photography, this is what you need to take high-quality shots. The downside of course is that they tend to be bulky and it's often difficult for beginners to use them as they require quite an investment in learning how they work, along with learning how to properly post-process your photos.

You definitely need to invest in a camera if you want to take advanced shots, like shooting the stars, for example. Phones are not quite capable of these kinds of specialist shots, so you will need to buy a proper camera. 

When you are looking at DSLR and mirrorless cameras, don't spring for the most expensive one straight away. You should start out with an entry-level one to get a feel for how it works and what you can do. If you see yourself getting really passionate about or even becoming a professional in photography, then think about investing in a top-end model.

In the end, it all comes down to your budget, what photos you're after and what kind of lifestyle you lead. The phone camera has many benefits but if you can afford it, a DSLR or mirrorless makes taking high-quality shots so much easier.

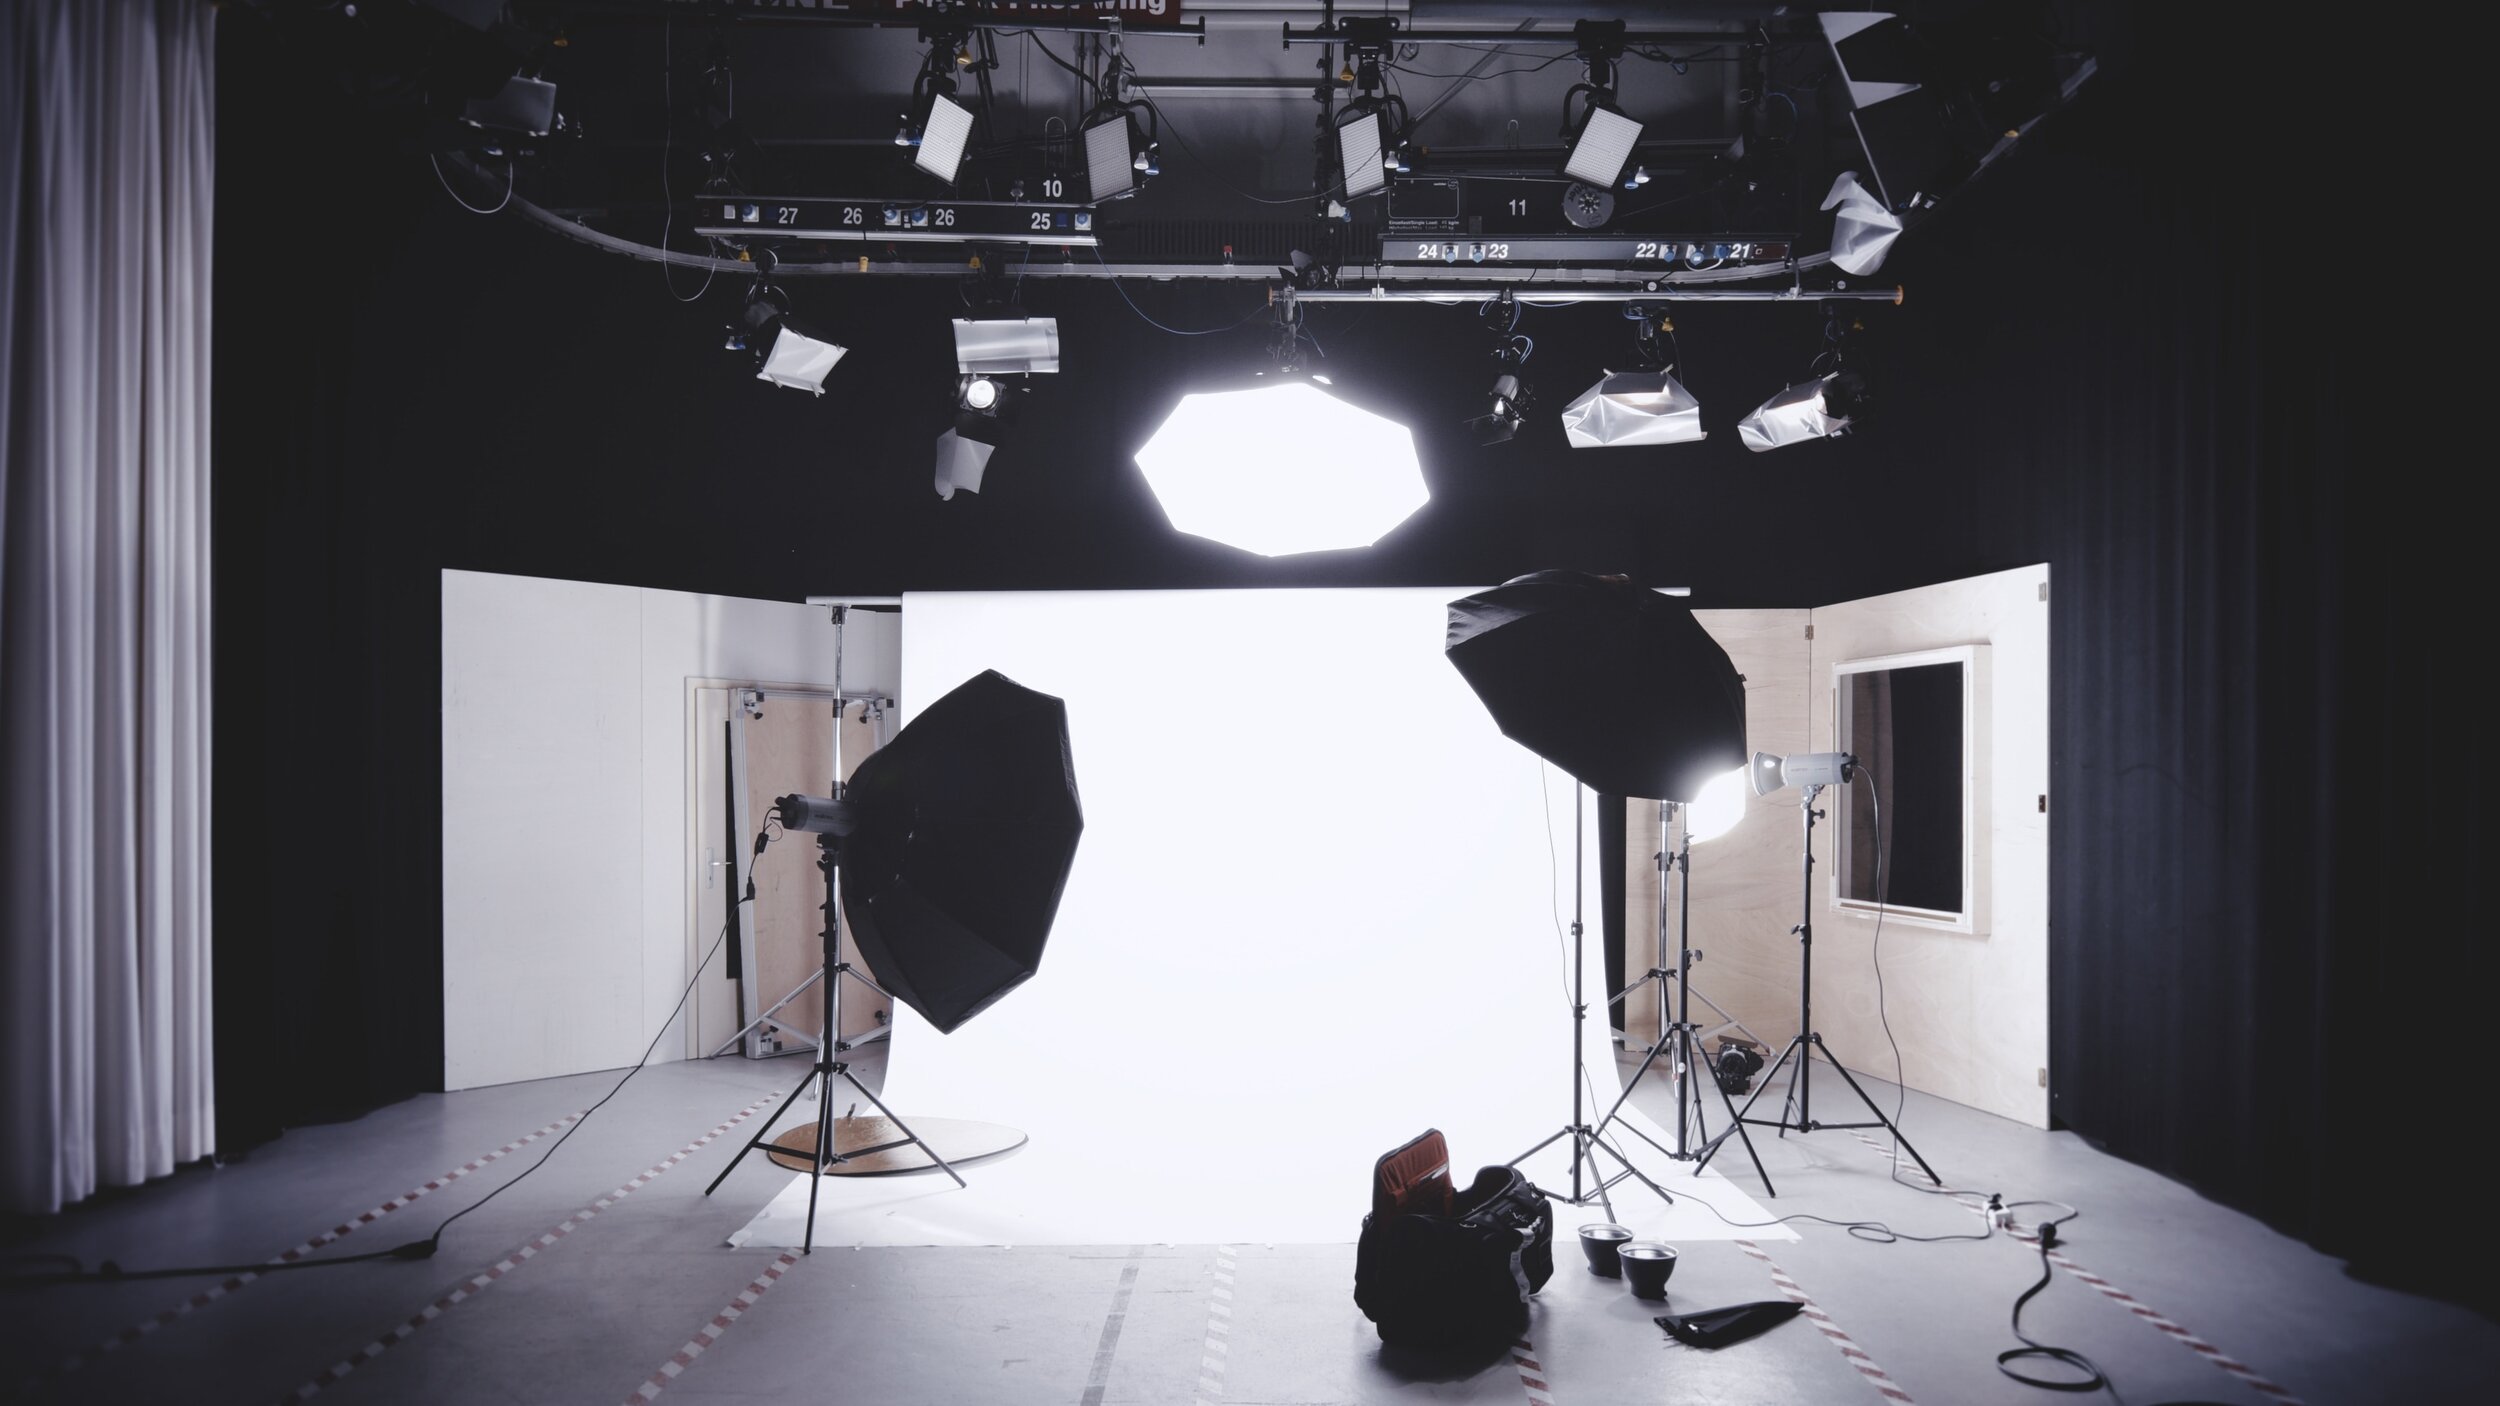
Quick Tips For Your First Studio Gig!

We photographers are always looking to improve our skills and experiment with new methods. If you’ve come to photography through a hobby path, you’re probably keen to bring your skills to the next level!

The first and most important tip you want to remember is that you don’t need to break the bank. I’ve written before about how to elevate your photography without buying any gear. And while a lot of websites will try to upsell your existing camera, practicing your eye and technique can make a much larger impact on your work!

Ideally, it’s best to start with a cheap device and work your way up as you get to understand the different settings and tools available. Composition designs and experiments can help you become a confident photographer and perhaps eventually help you get noticed by brands.

If working with brands is your goal, one skillset you need to develop is how to shoot in a studio. Now, your first gig in studio could be daunting, but these little tips will help you. 

Check the premises first and do your tests beforehand

It can be helpful to reach out to your sponsor/client and request to visit the studio ahead of the photoshoot. It can be a fantastic way of soothing your nerves as you can get to see what the place looks like and start planning. Get to know the lights and other gear they have available and even ask what they might recommend based on your client’s requirements.

I would go so far as to even spend a little bit of my own money to have an hour to test and warmup with a friend as a model to gain confidence and familiarity with the lighting equipment. There’s no need to go into this blindly! It’s essential that you make sure your camera gear and the lighting equipment work together as expected. Lighting is really not that complicated and you can learn the basics on Youtube, Skillshare, etc—the important thing is to get your feet wet and start playing so you know how to manipulate the equipment to get good results!

Additionally, you may want to keep your eyes open for potential issues. For instance, if you’re going to spend the best part of the day indoors, you want the air conditioning to be working smoothly. Nobody would enjoy being stuck in a room without any ventilation! So, if you spot anything during your visit, you should ask for emergency ac repair to be on the safe side. The same principle applies to the restroom. It doesn’t harm to check the sink and flush to make the sponsor aware of any problem that should be sorted out before the big day. 

Get to know your model

Are you going to work with models? This can be an exciting time for you! Your client could have picked a model through social media hunting. An Instagram model, for instance, may not be familiar with studio work. But, you can make time to get to know them and build up a trust relationship. This will ensure that you can kickstart the shoot in a friendly and relaxed atmosphere. Even if you’re working with someone more familiar with modelling jobs, it can still be beneficial to reach out and establish a connection. An experienced model could be happy to suggest ideas and poses for you. This is one of the most effective ways to make sure your goes smoothly and get professional results in the process.

Eliminate unnecessary distractions

The studio needs to promote a quiet and peaceful work atmosphere. While it is impossible to fully eliminate noises from a studio, you don’t want surrounding noise levels to distract you. For instance, road works or close-by building sites can cause enough disruptions for you to suggest soundproofing the studio.

Are you ready to take on your first studio project? Congratulations! To keep your nerves under control, experts always suggest getting familiar with the studio and the model beforehand. You are in a better position to avoid issues that could affect the quality of the work and create a positive relationship with your model. And remember to enjoy every minute of it! 

Photographers Explore Daang Kalikasan (Mangatarem)

Photographer Angelo Mendoza and I explore the picturesque mountain highway of Daang Kalikasan on the Mangatarem, Pangasinan side. On this overnight trip, we witnessed a beautiful sunset, fires on the hills, a surreal full moon night with a hint of the Milky Way, and a perfect sunrise to cap things off. Shot in February 2020, shortly before its abrupt closure due to over-tourism.

Shot and Edited by Aaron Palabyab

Still Photography and Additional Aerial and Mobile Footage by Angelo Mendoza

Follow us on Instagram:

http://instagram.com/aaronpalabyab

http://instagram.com/angelomendo

Music licensed via Epidemic Sound

Watch more of Photographers Explore: https://www.youtube.com/playlist?list=PLAoL430ePuoOAzbm_k2xojx_DbuvWim2d

GEAR USED

  • Aaron: GoPro Hero 7 Black

  • Fujifilm X-T3 + XF 16-80mm f/4, 18-55mm f/2.8-f/4 courtesy of  @FUJIFILM PHILIPPINES 

  • Sony A7RII

  • Sony FE 24-240 f/3.5-6.3, Laowa 15mm f/2

  • DJI Mavic 2 Zoom

  • RODE Videomic + Deadcat

  • Peak Design Travel Tripod (carbon fiber)

  • Benro Aero 2 Video Travel Angel Tripod

  • iPhone X MeFoto Roadtrip Travel Tripod

  • Angelo: Fujifilm X-T3, Fujifilm X-T30, DJI Mavic 2 Pro, iPhone 11 Pro Max

Subscribe to my channel - http://www.youtube.com/AaronPalabyabChannel

Facebook: http://facebook.com/a.palabyab

Business Contact / Licensing: aaron [at] aaronpalabyab.com

Exploring the PHILIPPINE EAST COAST (Aurora to Isabela) with the Chevy Trailblazer

Travel photographer Angelo Mendoza and I go on a weeklong road trip up the beautiful, isolated east coast of Luzon, Philippines, from the province of Aurora to Isabela. With the help of local friends and a capable car, we were able to explore far past the usual spots in search of the best spots.

In Part 1, we drive up from Manila to Baler and then all the way up the coast to the northernmost municipality of Aurora, Dilasag, taking many leisurely stops to shoot (and eat) along the way.

In Part 2, we drive off the road deep into the forests of the Sierra Madre to visit two isolated waterfalls: peaceful Singip Falls in Dilasag, Aurora, and the stunning 100+ meter-high Dibulo Falls in Dinapigue, Isabela.

In Part 3, day 4 of our adventure, we begin with a perfect moonset/sunrise at Parang Hills in Dilasag, Aurora, then drive to Dinapigue, Isabela and glimpse its stunning coast and blue waters for the first time. We stay at the beach til sundown and witness a spectacular moonrise over the ocean.

In Part 4, the last two days of our road trip, we shoot sunrise along a stunning stretch of coast in Dinapigue, Isabela, then drive down to Casiguran and then Dinalungan, Aurora. We come back up to Casiguran for sunset at a rice field, then end our trip with sunrise at Tabon Beach, Dinalungan, Aurora.

Special thanks to Chevrolet Philippines for letting us test drive the 2.8L Trailblazer Z71 4x4 for a whole week! The trip wouldn’t have been possible without it. The car was an absolute dream to drive both on the highway and off road, with lots of power combined with a smooth ride and comfortable amenities. I felt a confidence behind the wheel particularly on the twisty roads leading to Baler as well as the sketchy roads going to and around Dinapigue, especially the long and sometimes sketchy off-road segment going to Dibulo Falls. Find out more about this car by going to your nearest Chevrolet dealership or visiting www.chevrolet.com.ph.

PHOTOGRAPHERS EXPLORE THE PHILIPPINE EAST COAST

Shot and Edited by Aaron Palabyab

Photography and Additional Footage by Angelo Mendoza

Watch more of Photographers Explore!

Follow us on Instagram:

http://instagram.com/aaronpalabyab

http://instagram.com/angelomendo

GEAR USED

  • Sony A7RII + Sony 24-240 f/3.5-6.3

  • Sony A6300 + Sony 18-105 f/4

  • Laowa 15mm f/2

  • Sony Zeiss 55mm f/1.8

  • DJI Mavic 2 Zoom

  • Sky-Watcher Star Adventurer Mini tracking mount

  • MeFoto Roadtrip Travel Tripod

  • Benro Aero 2 Video Travel Angel Tripod

  • Angelo: Fujifilm X-T30

Edited in FCP X

Color grading with Color Finale Pro and SkyGrades Natural LUTs for DJI Mavic 2 Zoom

Let’s connect!

A Photo and Time-lapse Journey Through the CORDILLERAS

For five days, travel photographer Angelo Mendoza and I explored the Philippine Cordilleras, going off the beaten path in search of grand but unseen views and waiting to catch the most amazing light. In the process, we had one of the most incredible travel experiences of our lives, right up there with my most memorable adventures abroad.

CORDILLERA MOUNTAIN LIGHT is the time-lapse film that came of it, also including footage shot over the past year in Benguet, Mountain Province, Ifugao, and Kalinga.

The first two episodes of our PHOTOGRAPHERS EXPLORE series documents our unforgettable journey in search of those shots.

In part 1, we explore along the Halsema Highway, following it across Benguet and into Mountain Province, fall in love with Mt. Mogao in Tadian, and eventually stumble upon the most spectacular, unforgettable sunset.

In part 2, we move on from Tadian into the lesser-known Central Cordillera of Ilocos Sur, starting with the town of Cervantes. From there, we head up and explore up and down the dramatic, steeply-rising Tagudin-Cervantes-Sabangan Road, with its majestic views of the valley in Cervantes and the mountains of Mountain Province. We visit Bessang Pass and search for viewpoints while dealing with erratic weather, and finally drive all the way down west to the coast, seeing some of the most beautiful little-known mountain roads of the Cordillera along the way.

CREDITS

Produced by Angelo Mendoza & Aaron Palabyab

Shot and edited by Aaron Palabyab

Still Photography by Angelo Mendoza

Aerial and time-lapse photography by Aaron Palabyab

Additional videography and time-lapse by Angelo Mendoza

Additional Still Photography by Aaron Palabyab

FOLLOW US ON INSTAGRAM

http://instagram.com/aaronpalabyab

http://instagram.com/angelomendo

FIND YOURSELF through VISUAL STORYTELLING - Workshop Series in LA UNION

My weekend at MOUNTING STORIES, a 2-day visual storytelling workshop in San Juan, La Union organized by Open House. Participants were guided on a journey of self-rediscovery through Photography, Videography, Writing, and Illustration.

SUBTITLES AVAILABLE IN ENGLISH - turn on CC in toolbar to access them.

Workshops included: The Story and The Telling by Camille Pilar

IG: https://instagram.com/camillepilar

Doodling For Self-Discovery by Guada Tagalog

IG: https://instagram.com/guadatagalog

Photography as a Means of Exploration by me

Visual Storytelling: Videography by Chino Nero

IG: https://instagram.com/lachinoheat and https://instagram.com/kurrent.ink

Special thanks to Mara Andres and Open House for the invitation to participate and facilitate! Visit https://www.openhouseph.com/ for information on current and future events.

Gear used:

  • Sony A6300

  • Sony 16-50mm kit lens

  • Sony A7RII

  • Sony 24-240mm

  • Rode Videomic v2

  • DJI Mavic 2 Zoom

  • Music licensed via Epidemic Sound

Edited in FCP X

Subscribe to my channel - http://www.youtube.com/AaronPalabyabC...

Instagram: http://instagram.com/aaronpalabyab

Facebook: http://facebook.com/a.palabyab

Twitter: http://twitter.com/aaronpalabyab

Website: http://www.aaronpalabyab.com

Business Contact / Licensing: aaron [at] aaronpalabyab.com

INSTANTLY IMPROVE YOUR PHOTOGRAPHY By Fixing These 10 BEGINNER MISTAKES

Back with another in-depth tutorial this week for beginners! Here's my take on the 10 Beginner Mistakes video, with instant fixes and concepts that will help you get from total newbie to pretty decent.

Feel free to share any additional tips or ask more questions in the comments!

Gear used for tutorial:

  • Sony A7RII

  • Sony Zeiss FE 55 f/1.8

  • Sony A6300

  • Benro Aero 2 Travel Angel tripod

  • Saramonic UwMic9

Music licensed via Epidemic Sound

Subscribe to my channel - http://www.youtube.com/AaronPalabyabChannel

Instagram: http://instagram.com/aaronpalabyab

Facebook: http://facebook.com/a.palabyab

Twitter: http://twitter.com/aaronpalabyab

How to SHOOT THE MILKY WAY - COMPLETE BEGINNER'S GUIDE

Get your first good shot of the Milky Way! This week’s video is a complete beginner's guide on how to shoot the Milky Way, covering gear, planning, shooting, and editing in Adobe Lightroom.

CONTENTS:

  • 0:22 GEAR

  • 3:09 PLANNING

  • 7:36 SHOOTING

  • 13:51 POST-PROCESSING

Shooting the Milky Way with a mobile phone: https://youtu.be/wToXZHpUwUc

LINKS TO GEAR AND APPS (Lazada links for PH viewers are affiliate links, the rest are normal links)

LENSES (2019)

CAMERA (2019, selection only)

TRIPODS

APPS AND WEBSITES

Gear used for tutorial:

  • Sony A6300

  • Sony Zeiss FE 55 f/1.8

  • MeFoto Roadtrip Tripod

  • Saramonic UwMic9

Music licensed via Epidemic Sound

Subscribe to my channel - http://www.youtube.com/AaronPalabyabChannel

Instagram: http://instagram.com/aaronpalabyab

Facebook: http://facebook.com/a.palabyab

Twitter: http://twitter.com/aaronpalabyab

Website: http://www.aaronpalabyab.com

Business Contact / Licensing:

aaron [at] aaronpalabyab.com