Photography

72 Hours in Armenia

72 Hours in Armenia

Prior to doing the Grand Trans-Siberian Express, we went on a whirlwind three-day tour of Armenia. Like most people from this part of the world, I had very little, if any, preconceptions about Armenia, and what I found is a country with a deep, ancient history, fierce pride, and beautiful people. I hope to have captured some of that experience in the video above.

Read More

Hyperlapsing around Manila

Here's "Manilapse," my first piece for 2017! Teaching myself to hyperlapse on a day around Manila last year. Turns out it's hard work to shoot and even harder to edit cleanly. Practice, practice!

Locations:

0:00-0:12 Rizal Park

0:15-0:25 Quiapo

0:26-End Around Manila Bay

All shot on a Sony A7RII with a Canon EF 24-105 L IS on a Metabones adapter and a Sony FE 24-240 f3.5-6.3.

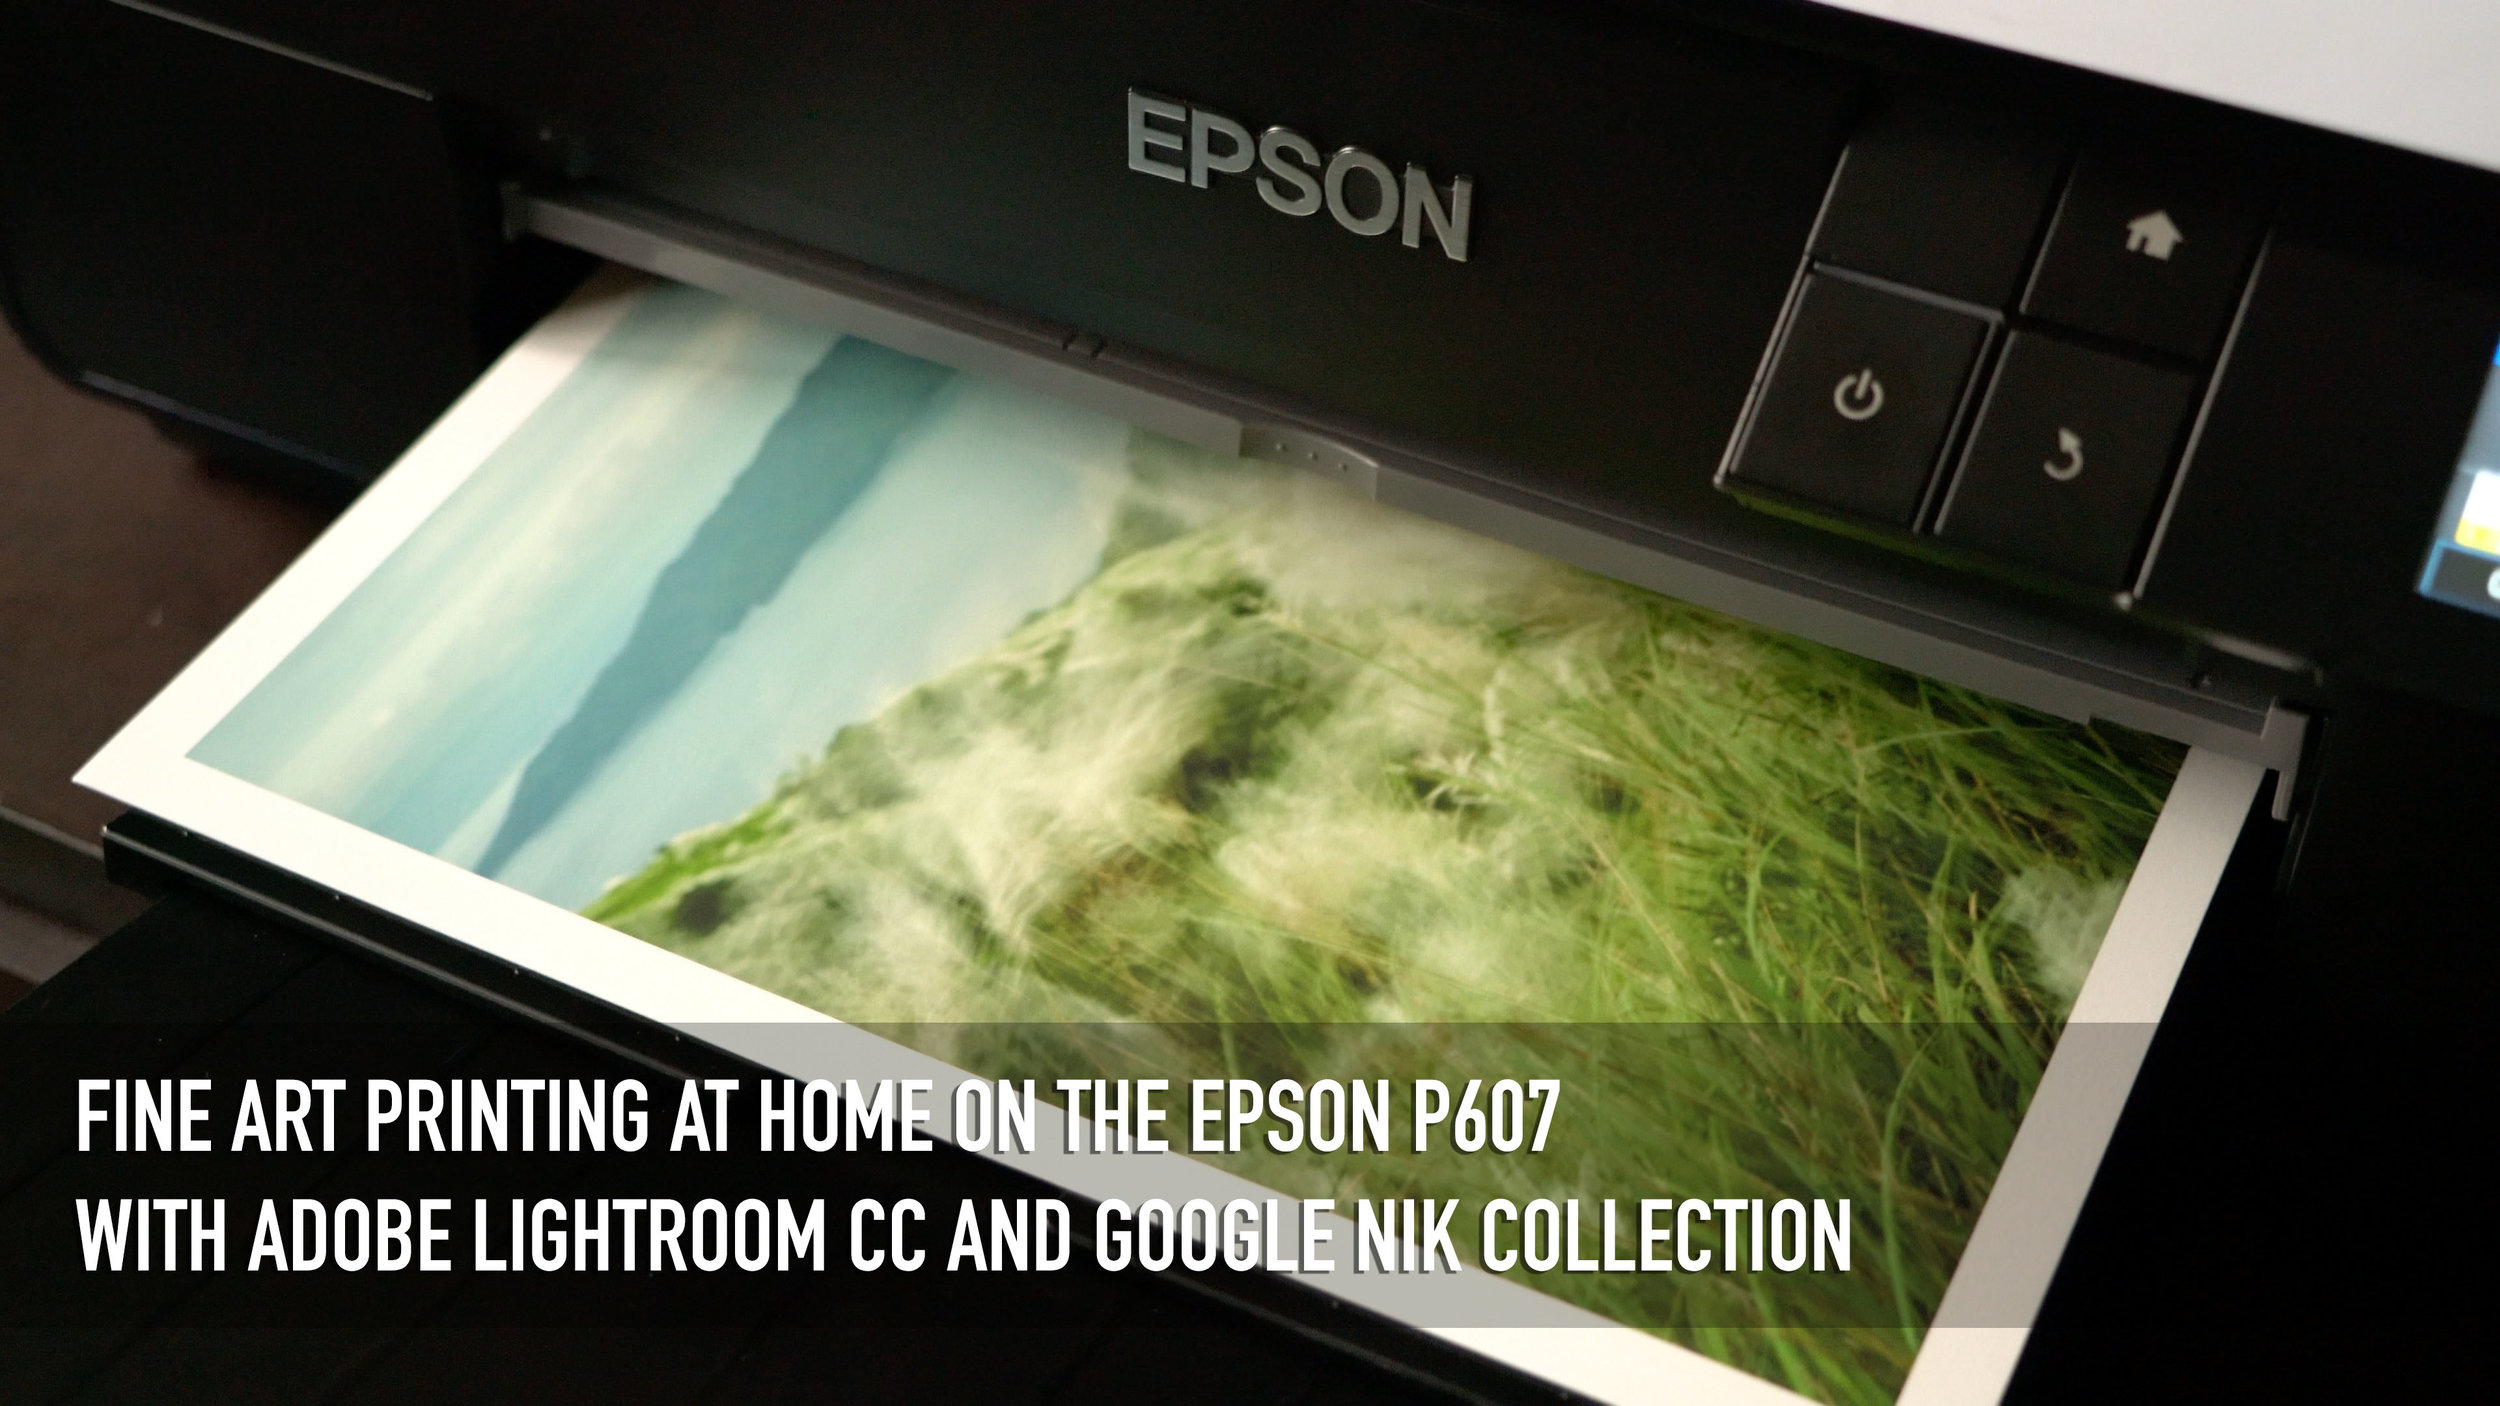
My Fine Art Printing Workflow (in 4K!)

My Fine Art Printing Workflow (in 4K!)

Finally got around to making a video on one of my favorite topics: printing! This is one of the most technical but also most rewarding aspects of photography, as many photographers insist that it's not a photograph until it's printed. This is quite a deep topic that I've spent many, many hours studying both online and under the guidance of my mentor, but I hope this demonstration both gives you a decent overview and whets your curiosity about all the work that goes into fine art printing.

Read More

Better Milky Way Photos in Under 5 Minutes: An Adobe Photoshop Lightroom Tutorial for Beginners

Following up on my previous guide to shooting the Milky Way, this quick and easy tutorial is meant to give beginners a solid starting point for editing Milky Way and night sky photos in Adobe Photoshop Lightroom. While it doesn't address the finer points of a perfect Milky Way edit, it will definitely give you a more visible and dramatic Milky Way galactic core and can save photos taken in less-than-ideal night sky conditions.

A summary of the basic workflow I followed in the video:

  1. Shoot in RAW with the right aperture/ISO/shutter speed for your setup. You want your stars to be pin-sharp and not streaking lines. Use this handy calculator to get the right settings. No RAW photo? Download the RAW photo used in the tutorial here.
  2. Set your camera calibration to Adobe Standard and turn on automatic Lens Profile Corrections for your lens. If not available, try to manually select your lens from the dropdown menu.
  3. Set Contrast to 100 and compensate overall brightness using the Exposure slider.
  4. Bring down Highlights slider to minimize effects of light pollution.
  5. Set white balance by maxing out Vibrance and Saturation, then moving the Temp/Tint sliders until you have a balance of yellow, blue, magenta, and green. Set Vibrance and Saturation back to 0.
  6. Increase Clarity to taste, taking care not to introduce unwanted artifacts and too much noise into the photo.
  7. Apply Noise Reduction. Attempt to minimize grain without smooshing out detail excessively.

From here, you can proceed to perfecting the photo with localized edits, composites, dodging and burning, etc. Hope this helps! Til next time.